

A. District Login
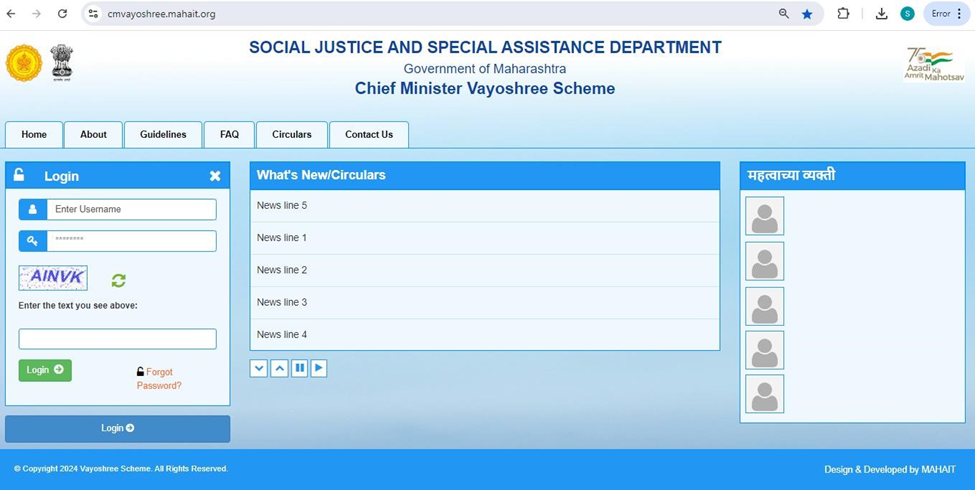
- To login into District Level, user need to open a compatible browser, type the URL of the portal – https://cmvayoshree.mahait.org/ and hit enter.
- MahaIT has provided all district logins to the Social Justice and Special Assistance (SJSA) department.
- After the Web Portal is open on screen, the User needs to enter the Username and Password in the login section available on the portal.
- After entering the user credentials OTP will be sent to the registered mobile number of the District User.

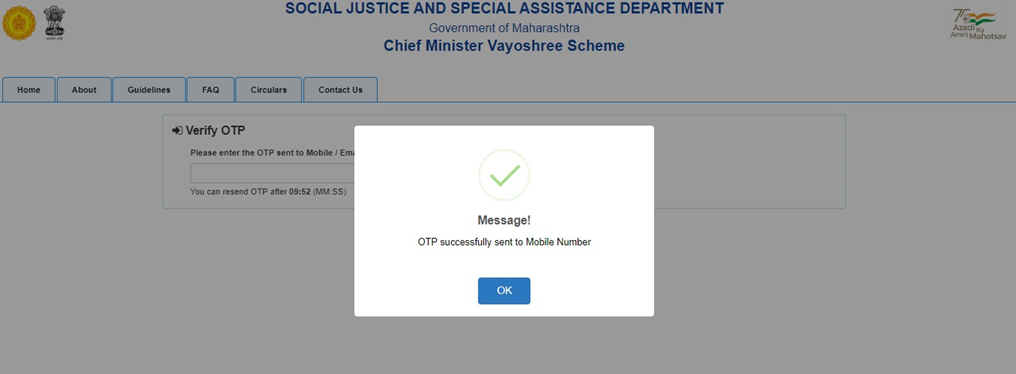
- The District User will enter the OTP received on their Mobile
- After entering the OTP and clicking on the Verify OTP button the user will be successfully logged into the portal.
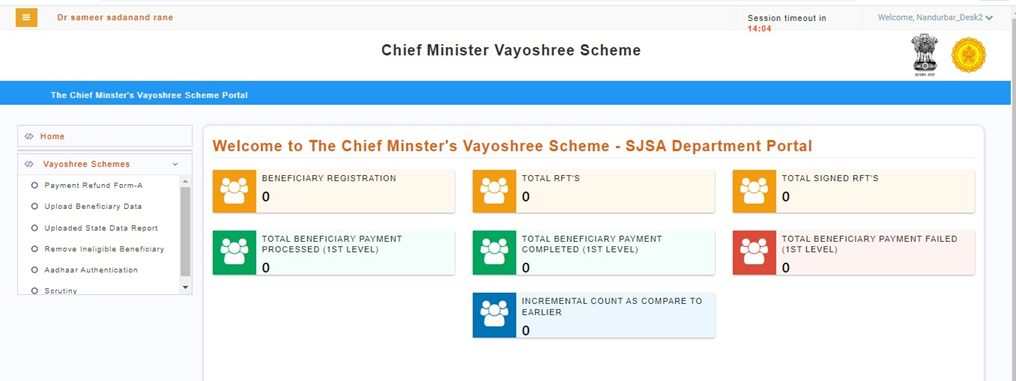
B. Beneficiary Data Upload from District Login

- The District user has to click on the Upload Beneficiary Data tab
- After clicking on the Upload Beneficiary Data tab, the below screen will be displayed
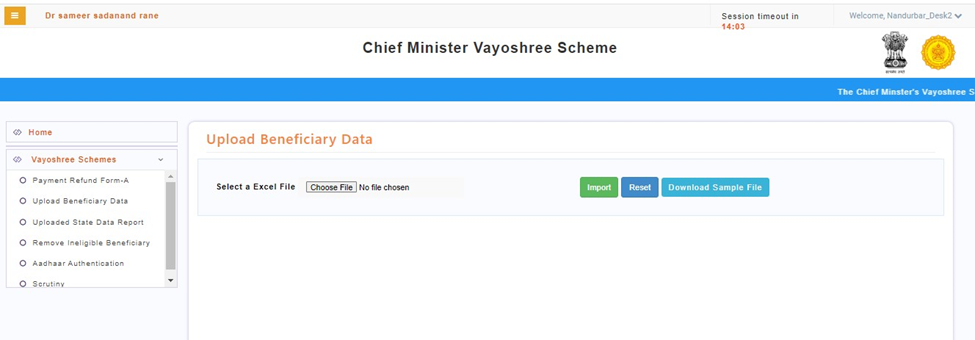
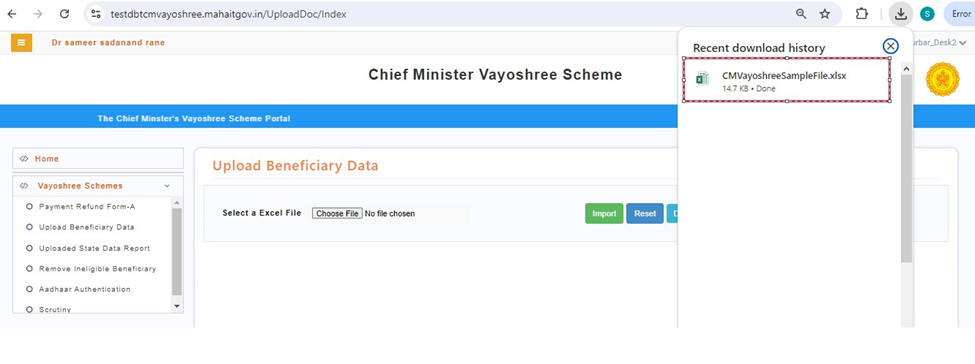
- The user should first download the pre-defined Excel file to insert the beneficiary data. The district user can download the Excel file by clicking on the Download Sample File button.
- After clicking on the Download Sample File button the Excel file will get downloaded on the system.
- The district user has to open the downloaded Excel file and insert the beneficiary data strictly as per the defined columns and dropdowns present in the Excel.
- The user is not allowed to change the format of the Excel and should not add, edit, delete, or update the Excel headings or the sequence of the columns.
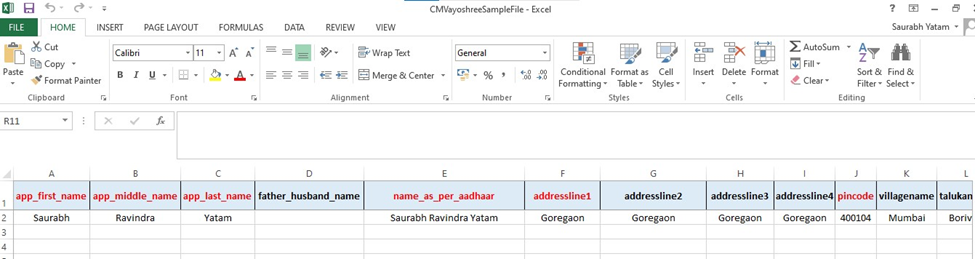
- The Excel column headings highlighted in RED are mandatory and the district user should enter the beneficiary data in the defined format only and the mandatory fields should not be kept blank
Excel Sheet Validations
| Sr. No. | Field Name | Data & Its Format | Field Mandatory or Optional |
| 1 | app_first_name | Saurabh | Mandatory |
| 2 | app_middle_name | Ravindra | Mandatory |
| 3 | app_last_name | Yatam | Mandatory |
| 4 | father_husband_name | Optional | |
| 5 | name_as_per_aadhaar | Saurabh Ravindra Yatam | Mandatory |
| 6 | addressline1 | Goregaon | Mandatory |
| 7 | addressline2 | Goregaon | Optional |
| 8 | addressline3 | Goregaon | Optional |
| 9 | addressline4 | Goregaon | Optional |
| 10 | pincode | 400104 | Mandatory |
| 11 | villagename | Mumbai | Optional |
| 12 | talukaname | Borivali | Optional |
| 13 | districtname | Nandurbar | Mandatory & Select from the drop down |
| 14 | dateofbirth (dd/mm/yyyy) | 24-09-1992 | Mandatory |
| 15 | yearofbirth | 1992 | Mandatory |
| 16 | age | 31 | Mandatory |
| 17 | gender | Male | Mandatory & Select from the drop down |
| 18 | mobilenumber | 9664123456 | Mandatory |
| 19 | aadhaarnumber | 859632147896 | Mandatory |
| 20 | beneficiarycast_category | General | Optional, Select from the drop down |
| 21 | disabilitytype | N/A | Mandatory & Select from the drop down |
| 22 | annualincomeoffamily | 1000000 | Mandatory |
| 23 | bankname | SBI | Mandatory |
| 24 | accountnumber | 214120000000 | Mandatory |
| 25 | ifsccode | SBIN0070001 | Mandatory |
- After successfully inserting the beneficiary data in the Excel, The district user have to save the Excel file in the system and upload it on the portal.
- To upload the Excel file, the district user has to click on the Choose File button available on the portal, and the window will be opened. The user has to select the
Excel file which is to be uploaded onto the portal
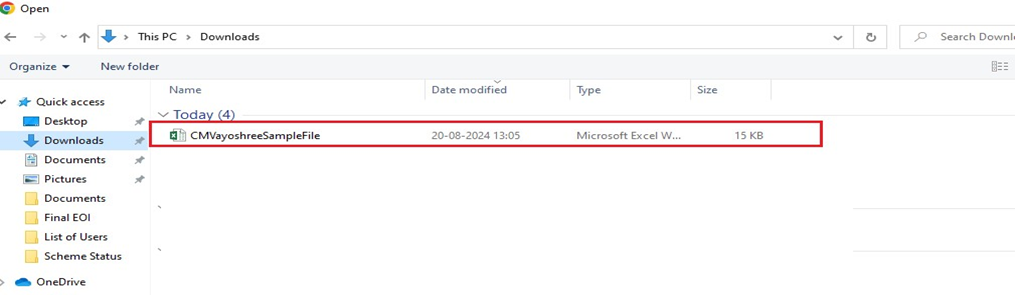
After selecting the file the file name will appear on the portal which means the file is uploaded onto the portal
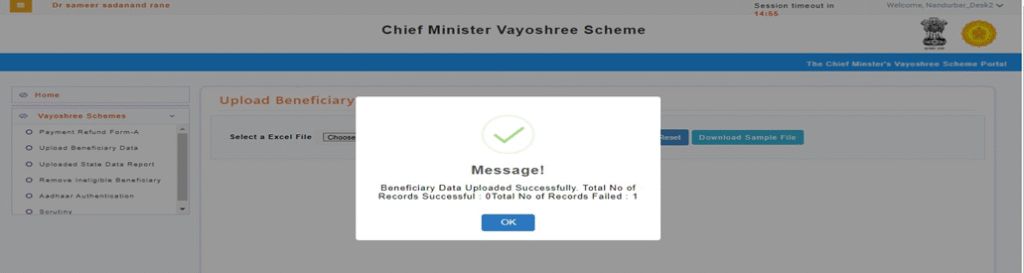
- The District User has to click on the Import Button available on the portal
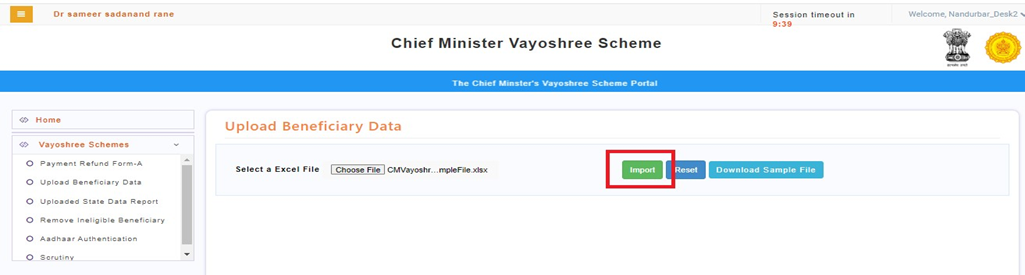
- After clicking on the Import button the beneficiary data will get uploaded on to the portal and the count of successful and failed records will be displayed.
Steps to Perform Scrutiny on the Chief Minister Vayoshree Portal
A. District Login
- To login into District Level, user need to open a compatible browser, type the URL of the portal – https://cmvayoshree.mahait.org/ and hit enter.

- MahaIT has provided all district logins to the Social Justice and Special Assistance (SJSA) department.
- After the Web Portal is open on screen, the User needs to enter the Username and Password in the login section available on the portal.
- After entering the user credentials OTP will be sent to the registered mobile number of the District User.
- The District User will enter the OTP received on their Mobile
- After entering the OTP and clicking on the Verify OTP button the user will be successfully logged into the portal.

B. Bulk Aadhar Authentication-
The user can perform the Aadhar Demographic Authentication in bulk.
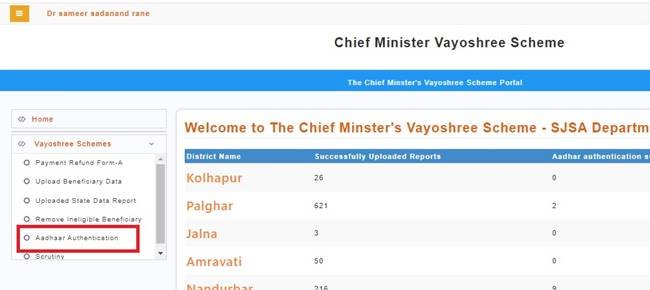
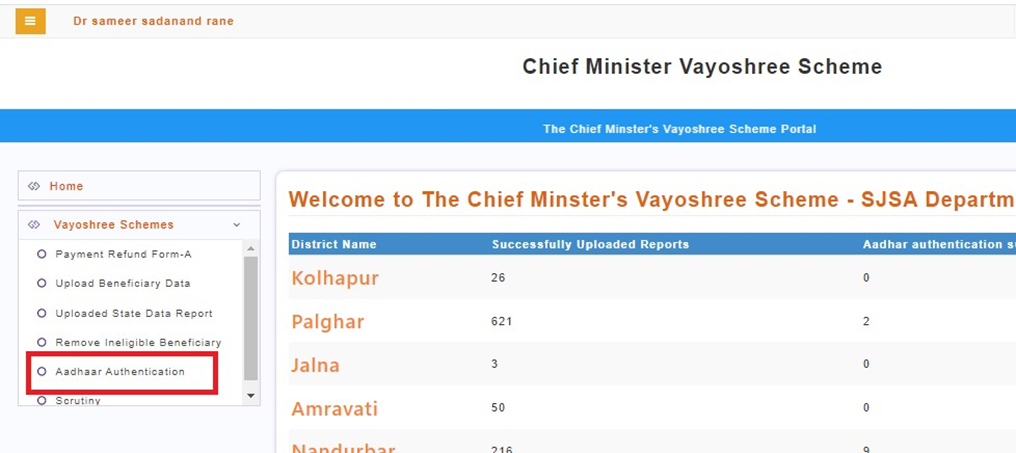
To perform the Bulk Aadhar Authentication user has to click on the Aadhar Authentication Tab
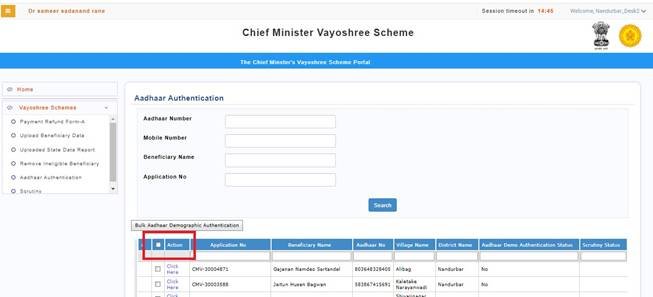
The user has to select all application by clicking on the checkbox, all the applications will get selected then user has to click on Bulk Aadhar Demographic Authentication button to perform the Aadhar Authentication in bulk.
C. Scrutiny- District Login
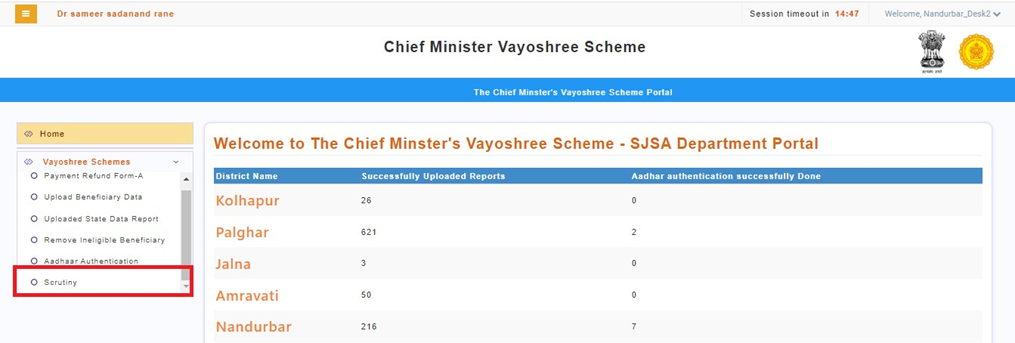
- The District user has to click on the Scrutiny tab
- After clicking on the Scrutiny tab, the below screen will be displayed
- The list of beneficiary records will be displayed, to perform the scrutiny on beneficiary application user has to click on “Click Here” option.
- After clicking on the Click Here option the beneficiary application will be opened
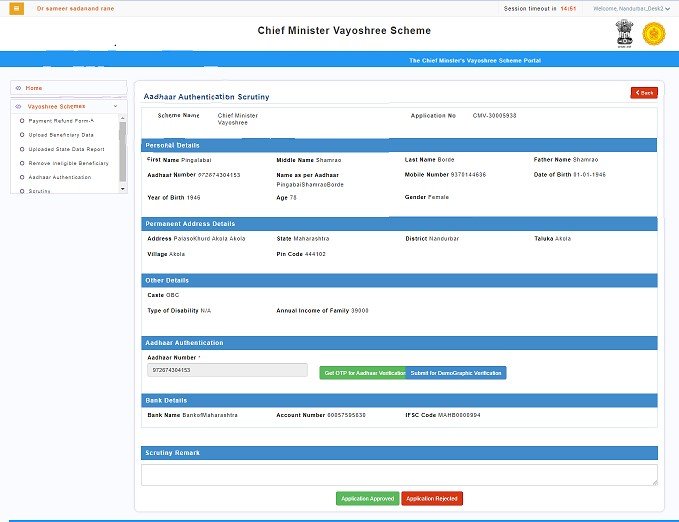
- The district user has to verify the beneficiary application details and once details are verified user can approve or reject the application.
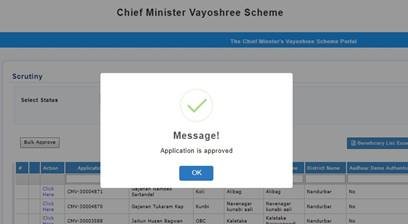
- To approve the beneficiary application user has to click on “Application Approved” button.
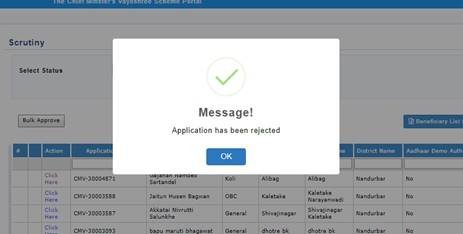
- In case of any discrepancy found in the application user can reject the beneficiary application by clicking on “Application Rejected” button.
D. Bulk Approval Process-
The user can approve the Aadhar Authenticated applications in bulk.
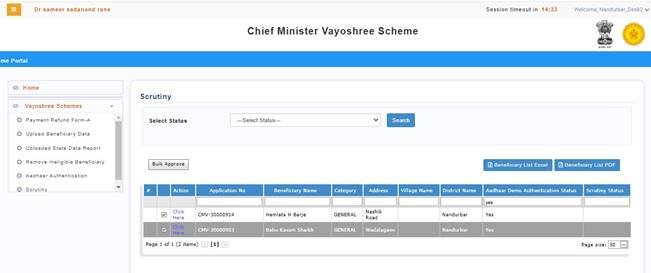
To approve the Aadhar Authenticated Applications user has to search the applications in the given search box who’s Aadhar Authentication Status is yes.
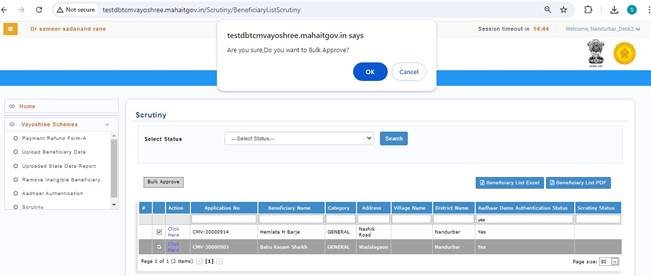
Then user has to select the Aadhar Authenticated applications and click on “Bulk Approve’ button.
Clicking on the “Bulk Approve’ button following message will be displayed-
Are you sure, Do you want to bulk approve?
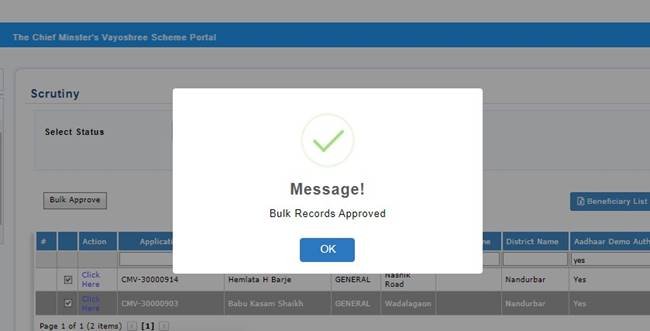
After clicking on the OK button, applications will be approved in bulk and below success message will be displayed
E. Remove Ineligible Beneficiary-
District users can remove the ineligible beneficiaries by using the Remove Ineligible Beneficiary Tab
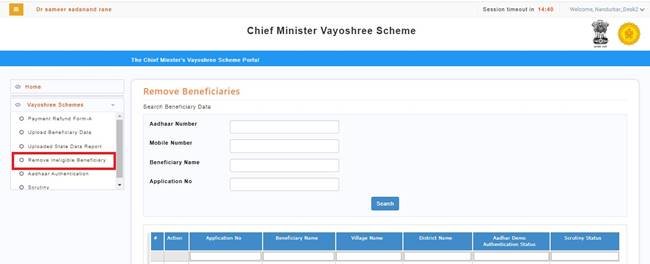
Clicking on Remove Ineligible Beneficiary Tab list of uploaded beneficiaries will be opened
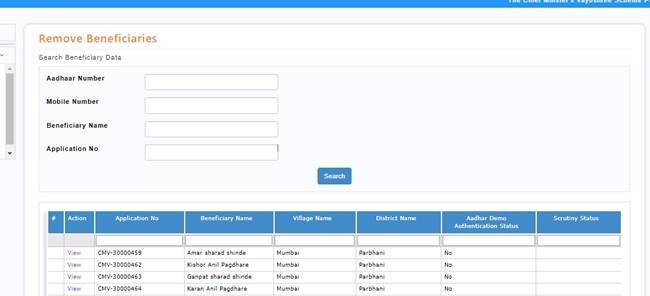
Clicking on the view option, beneficiary application form will be displayed
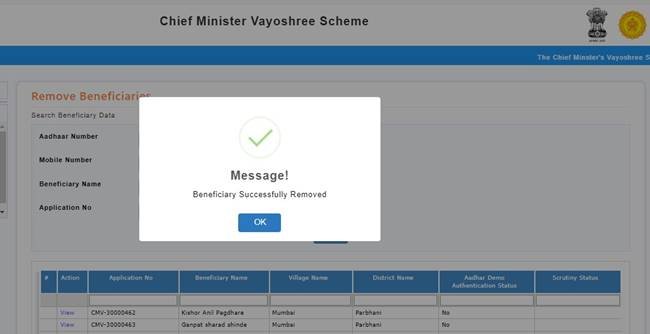
User has to enter the remark before removing the beneficiary and click on Remove button
Clicking on the remove button that particular beneficiary will be removed from the list and following message will be displayed
F. Request for Fund Transfer Generation- State Nodal Officer (SNO) Login
All the approved application from the district users will be appeared in the State Nodal Officer (SNO) Login
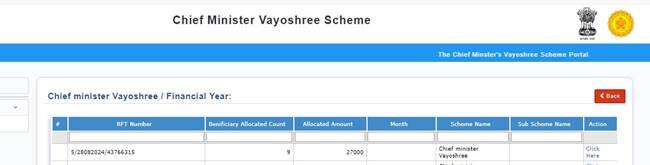
State user will be able to generate Request for Fund Transfer (RFT) against the beneficiaries
State user will select the Financial year, Month, Scheme name and Action as Generate RFT and Download RFT form

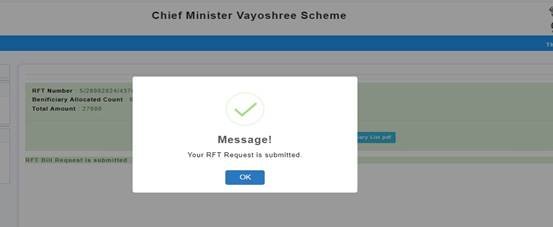
State user will generate the RFT by clicking on the Proceed Button and RFT will get generate against the beneficiaries.

Clicking on the Generate RFT Bill following success message will be displayed
DDO RFT Signing-
The RFT generated by the State Nodal Officer (SNO) will be forwarded to DDO to digitally sign the RFT
DDO has to select the Financial Year and scheme name and click on Proceed button, the RFT generated count and amount will be displayed
The DDO has to select the click here option
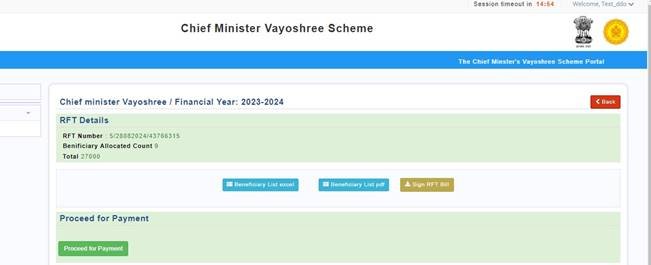
The DDO has to connect the DSC dongle and click on sign RFT button, the RFT will get digitally signed and DDO has to click on proceed for payment button and success message will get displayed.


